


This versatile ingredient is brilliant for roasting and frying, and it’s a great way to extend the shelf life of butter. It’s also super easy to whip up at home.
Until about a year ago I religiously used olive oil to fry and roast with. I preferred using this oil over more refined oils that are extracted using solvents and then, as if that wasn’t enough, refined, deodorised and bleached. For someone who likes to eat foods that are as natural as possible, the resulting ingredient of all that processing doesn’t appear particularly appealing or healthy to me.
The downside of using olive oil in cooking, however, is that it’s stable only when used at lower temperatures. If used at high temperatures, then it burns and can form various harmful compounds. So while I still love using olive oil in salad dressings and in low-heat cooking, I now make ghee as it’s fantastic for use in high-heat cooking such as roasting and frying.
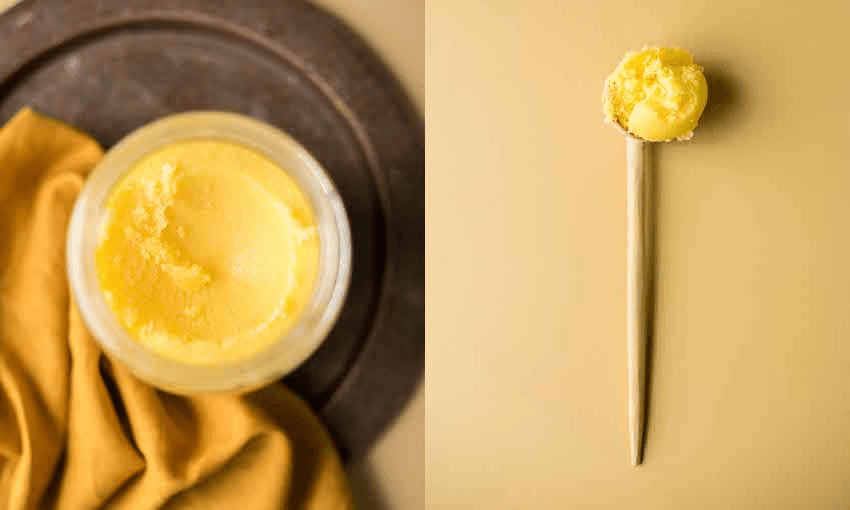
Ghee is an ingredient that originates in ancient India and is deeply revered in Indian cooking and in Ayurvedic medicine and religious rituals. A type of clarified butter, it’s also used in Middle Eastern, South East Asian and African cuisines. It is really easy to make, has a wonderful rich, nutty smell and is a beautiful golden yellow colour. I recommend you give it a go!
As the milk solids are removed, ghee extends the life of butter. It lasts for months so is a good option to have in your fridge given the current situation! Some recipes advise storing ghee in the pantry, but I tend to refrigerate it to make sure it doesn’t go rancid. For roasting vegetables, put a couple of spoonfuls into your empty roasting dish, slide it into a preheated oven to melt, then add the veges, toss through and return to the oven.

GHEE
Almost fills at 1 litre jar
- 2 x 500g blocks butter (you can use salted or unsalted butter)*
Put the butter into a heavy-bottomed saucepan and set on the stove over a medium heat. Melt the butter and then bring it to a gentle simmer. At this stage a foam will form on top and as the butter simmers away, the milk solids will drop to the bottom of the saucepan.
After about 15-20 minutes, if you take a wooden spoon and gently push the foam aside, you will see the milk solids on the bottom through the clear golden ghee. At this point you can either remove the pan from the heat or let it cook further until the milk solids are golden brown and the ghee has taken on more of a nutty flavour. Remove from the heat.
Line a sieve with muslin or cheese cloth and set over a large pyrex jug or bowl. Slowly pour the contents of the saucepan into the sieve so the milk solids are separated from the liquid ghee. Once separated, pour the ghee into a jar, seal and store either on the bench out of the direct sunlight or in the fridge.
Either throw away the milk solids or use them in something else (see below).
*If you use salted butter, then the milk solids that remain are too salty to use for anything else. If you use unsalted butter, however, the solids are absolutely delicious and can be stirred through rice, used in a crumble topping or to make Indian sweets. You can use just one block of butter to make this recipe, but note it will cook faster.